Shayne Stephens, Technical and Product Quality Manager at Customade Group, shows you how to securely install a roof lantern in 10 minutes.
There are many considerations when selecting roof lanterns for customers but, for the busy installer, speed of installation is clearly a key factor.

At Atlas, we manufacture roof lanterns that meet the highest standards of security and industry-leading thermal performance but we also manufacture roof lanterns that can be fitted in 10 minutes.
These guidelines (and accompanying video) should ensure that your installation is not only finished in good time but also in a manner that will ensure your customers are happy with their secure, aesthetically pleasing and long-lasting roof lantern.
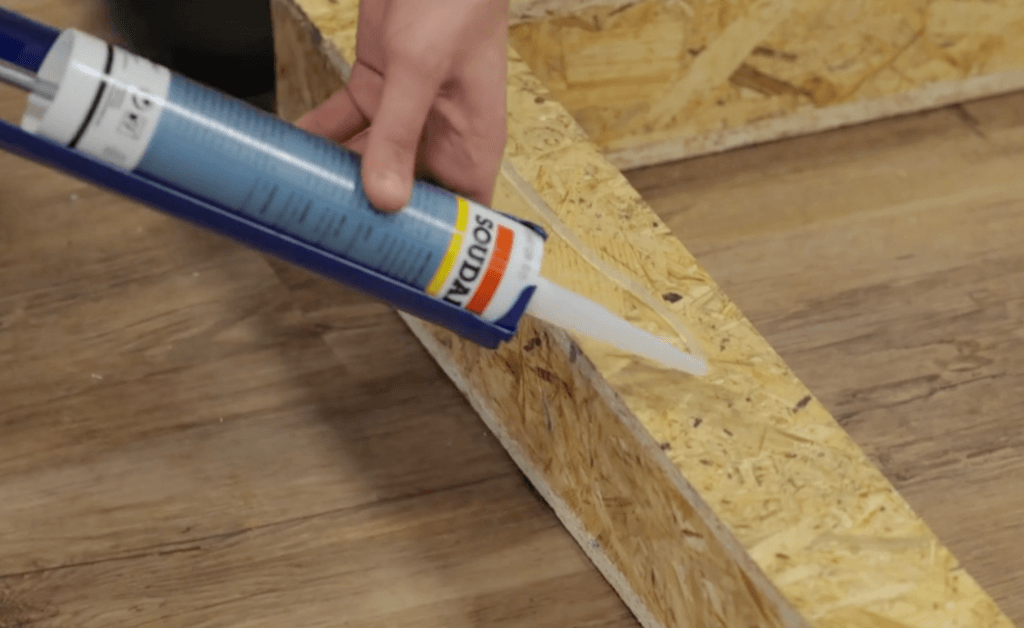
1. Prepare the base
Firstly, apply a generous amount of silicone to the top of the lantern curb upstand before the ring beam is installed as this will ensure a tight seal on the base.
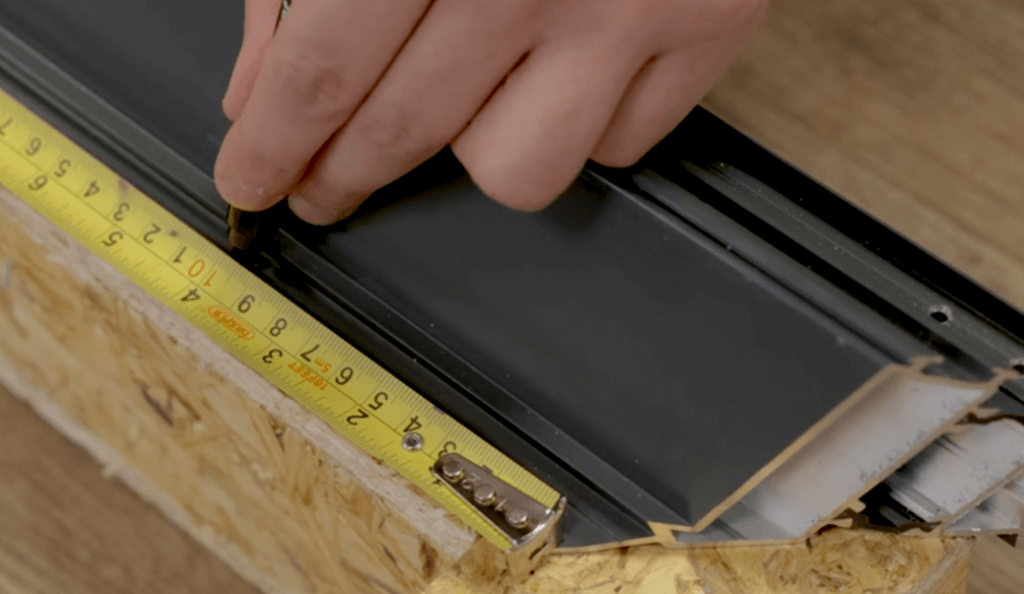
2. Prepare the Atlas ring beams
The next step is to mark and pre-drill all of the ring beams 100mm from the ends and at approximately 500mm centres.
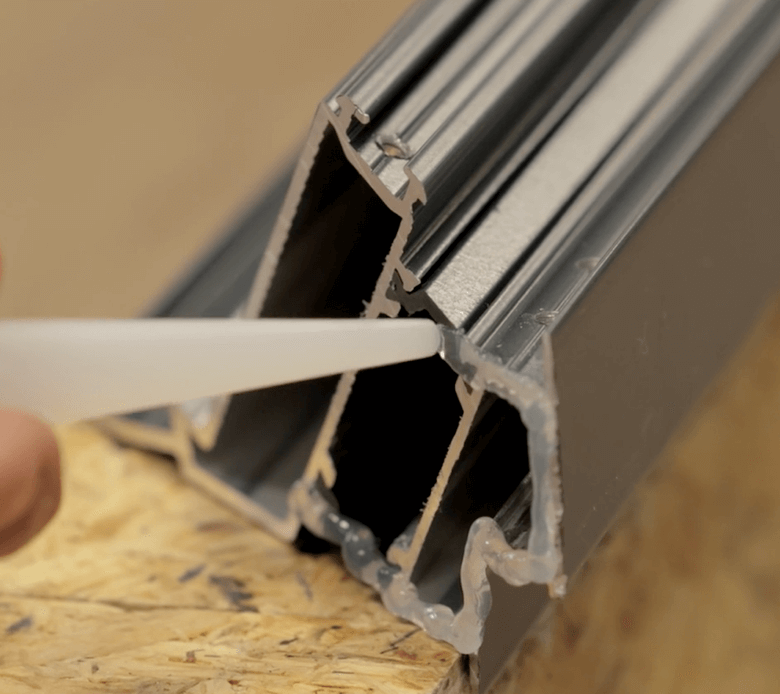
Silicone the mitred ends of the ring beam before connecting the other ring beams.
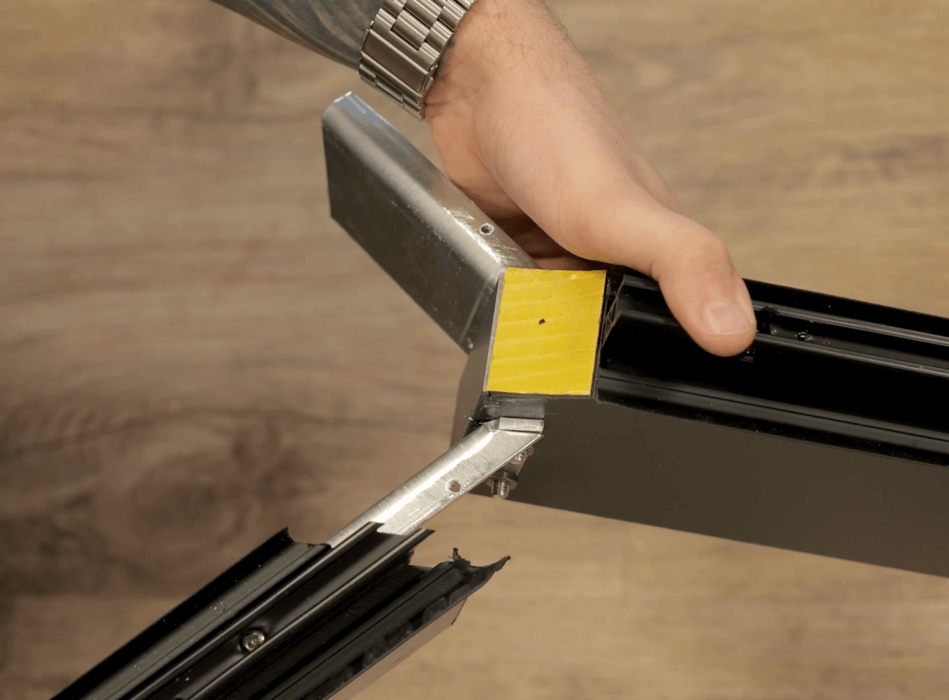
Slide the ring beam with the pre-fitted corner cleats into the adjacent ring beam continued to connect other ring beams in a similar manner.
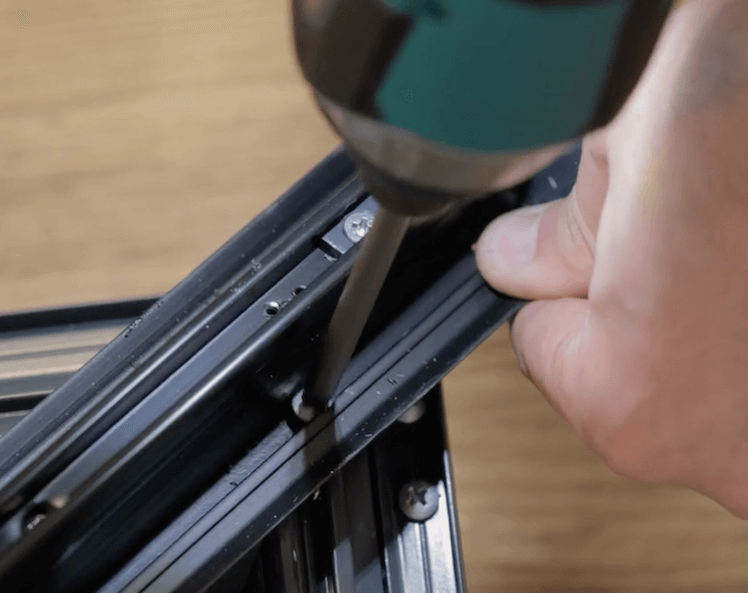
3. Build the ring beam
Once the mitres are securely pushed tight together, fix the 4.2 by 25mm screws into the pre-drilled holes on the ring beam. When all corners have been completed, fix the ring beam to the curb upstand and continue the fixing process around all the ring beams.
Slide the hip rafters over the pre-fitted hip bracket on the ridge.
The bracket slides onto the internal shortest side of the hip rafter and will fit snugly.
Continue to do this on all hip rafters. Once the main frame of the ridge and hips has been constructed lift into position while making sure all four hips are tight into the corners of the ring beam.
Make sure joints are tight against the ridge and fixed down through the rafter at approximately 25mm from the internal short side with a 4.2 by 25mm screw.
Fix hips into the ring beam using the 4.2 by 25mm screws provided fixing it either side of the rafter and continue to fix all four corners. This will bring all four corners in tightly – in a perfectly aligned shape.
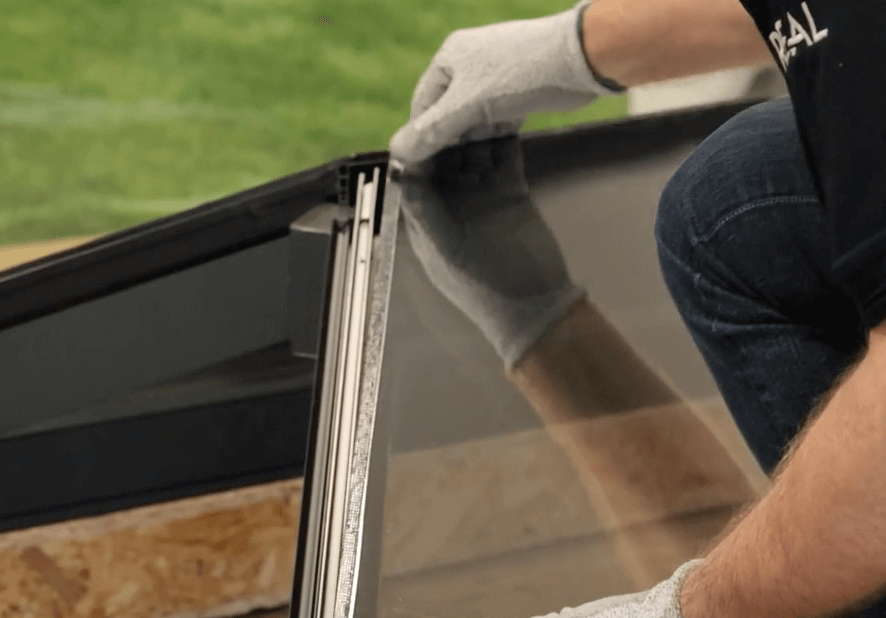
4. Prepare for glazing
Fit the ring beam glazing support trim – make sure that trim is tight against the hip and then push down on the trim to clip on.
Before glazing, remove the protective strip from security tape on all four ring beams.
5. Glazing the roof lantern
Lift the glass including the end closer into place pushing the glass tight against the ridge so it can fit in behind the hip rafter end closers continue to fit the other units in the same manner. Remember to always check glass labels for instructions on which side faces into the room so the self-cleaning glass is on the outside.
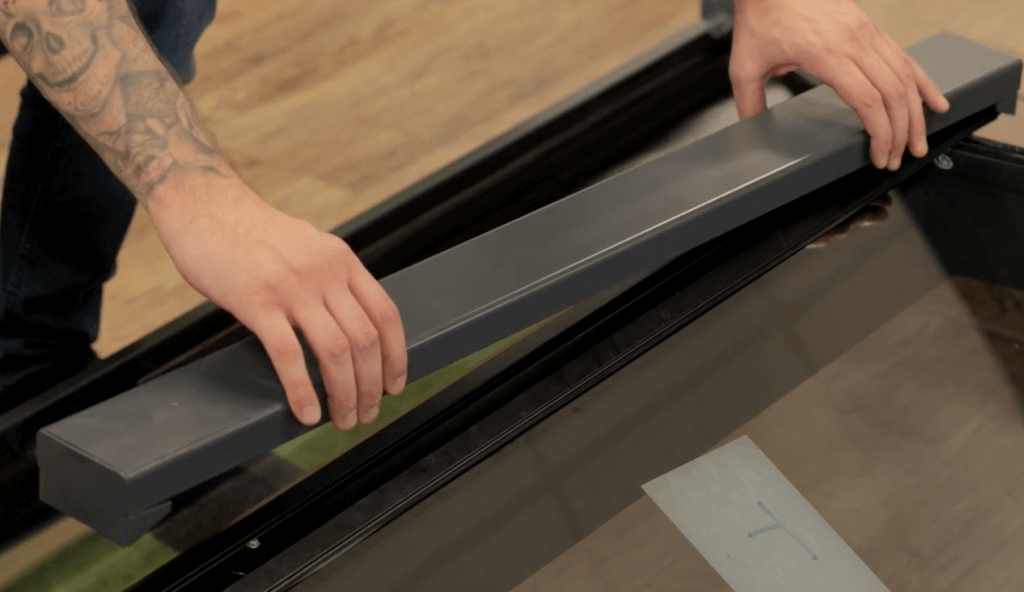
6. Fit the pressure plates
Fit the ridge pressure plates by centralising it on the Ridge and screw down using the 4.2 by 45mm screws provided once the pressure plate has been fixed, clip on the ridge top cap by applying downward pressure along its length
Centre the hip pressure plates over the hip rafter and screw down through the pre-drilled holes. Continue to do this on all hips making sure pressure plate gasket is compressed against the glass.
Once the pressure plates are fixed, set the cover caps onto the pressure plates and push down to clip on. Continue this process on all the rafters to complete the assembly and you will have completed a solid and sturdy roof lantern in around 10 minutes.
Atlas roof systems are strong, durable and wind tested to 3.5KN/m² so your customer can have peace of mind that their roof lantern is safely, securely and speedily installed.
See our full instruction video at https://vimeo.com/694360407 and, for more technical help or advice on roof lanterns see https://atlasroofsolutions.co.uk.